Installing Java JDK
If you have not already done so, download and install the Java 8 JDK. Note: Be sure you have the JDK, not just the SDK.
Configuring Java JDK
On Windows machines, you'll need to set the JAVA_HOME
environment variable. There are multiple ways to do this. One way is
to:
- Type
environmentin the search bar of the Control Panel
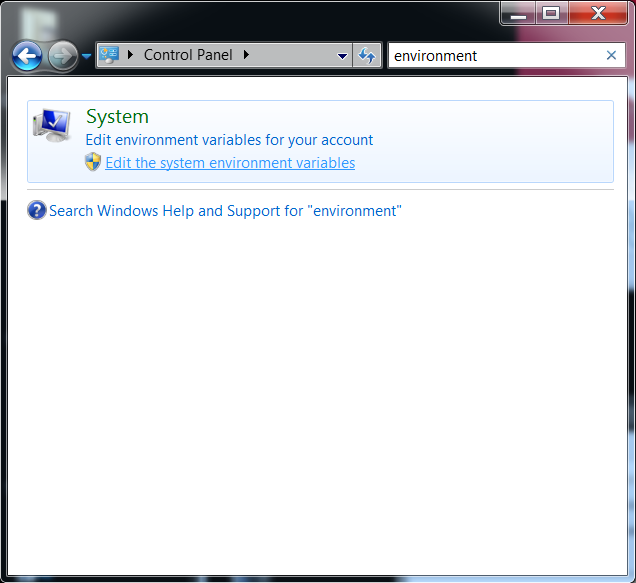
- Click "Edit the system environment variables"
- Then click "Environment Variables" on the
Advancedtab
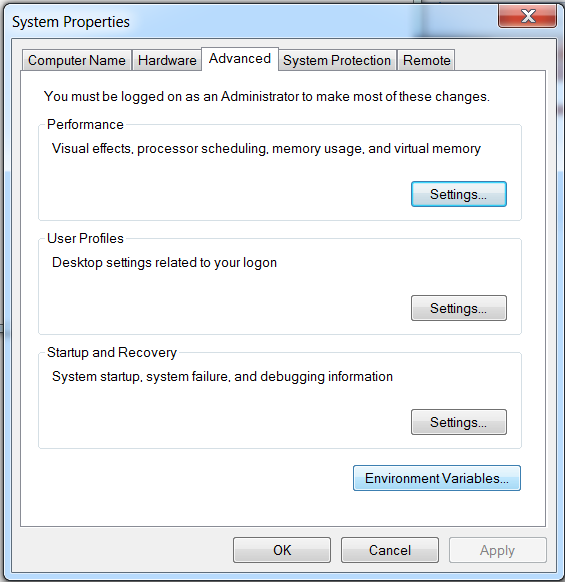
- Then click "New..." under the
System variablessection
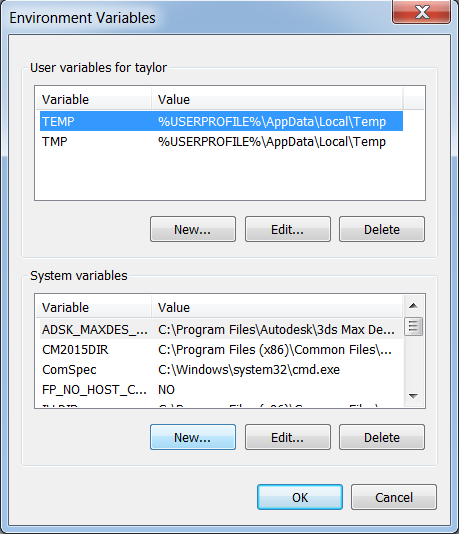
- Enter
JAVA_HOMEfor theVariable nameand enter the appropriate path to the location of the JDK installation for theVariable value

and clickOK
If that doesn't work, try: System -> Advanced System Settings -> Environment Variables instead.
Installing Android Studio
To begin, download Android Studio from here and then run the executable to install Android Studio. Follow these steps through the installation process:
- Select
Next >on theWelcome to the Android Studio Setupwindow - Ensure that all boxes are checked and click
Next >on theChoose Componentswindow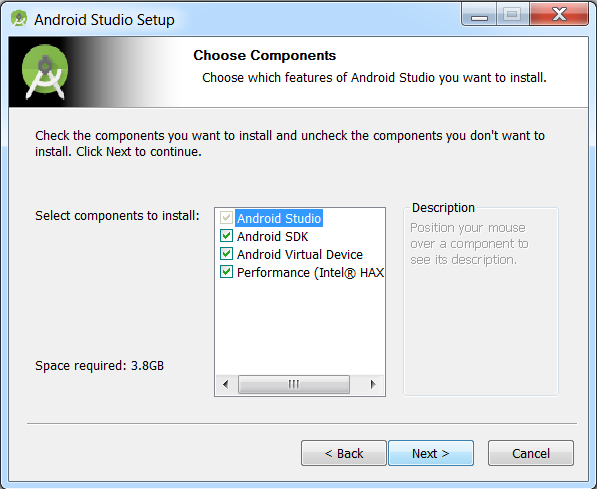
- Select
I Agreeif you agree to the license agreement - Change the
Android SDK Installation LocationtoD:\Androidand clickNext >

- Select
Next >on theConfiguration Settings / Emulator Setupwindow using the recommended RAM allotment - Select
Install - Select
Next >once the installation is completed - Select
Finishto end the installation process
Running Android Studio
The first time you run Android Studio, you should do the following:
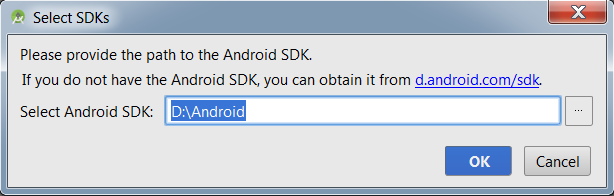
- If prompted, set the Android SDK path to
D:\Android
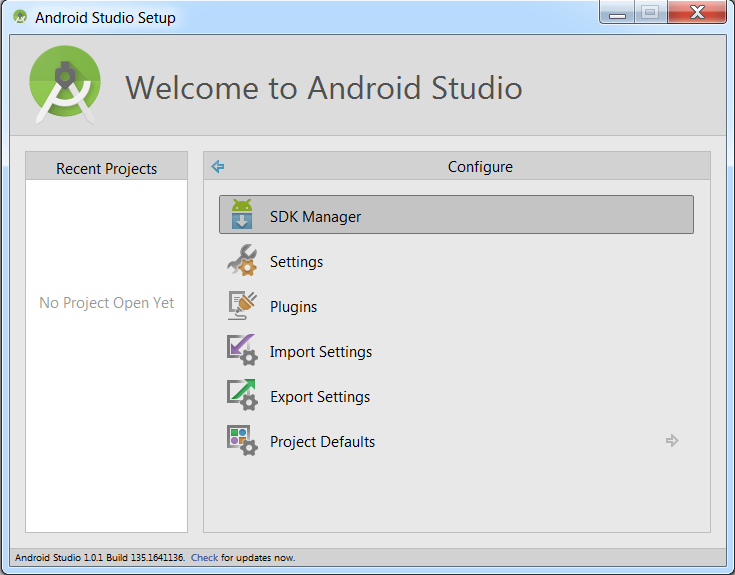
- From the
Welcome to Android Studiowindow selectConfigure

- Then select
SDK Manager
- Click on
Install X packages...to install the appropriate updates - Read and accept the licenses (if you agree) and then click
Install(this will take awhile)
Make/Open a Project
See lab assignment for details.1)
Create Virtual Device
An Android Virtual Device (AVD) can be used to emulate a physical Android device. When
Android Studio is installed, it creates a default AVD. You will need to modify our BIOS
settings in order to use the default AVD which uses Intel Virtualization
Technology.2)
Alternatively, you can create an AVD that does not require BIOS changes and/or an AVD that
emulates a different physical Android device. You can create an AVD that emulates a
Nexus 7 tablet that does not require virtualization technology.
- Click on the
AVD Managericon in the toolbar

- Click on
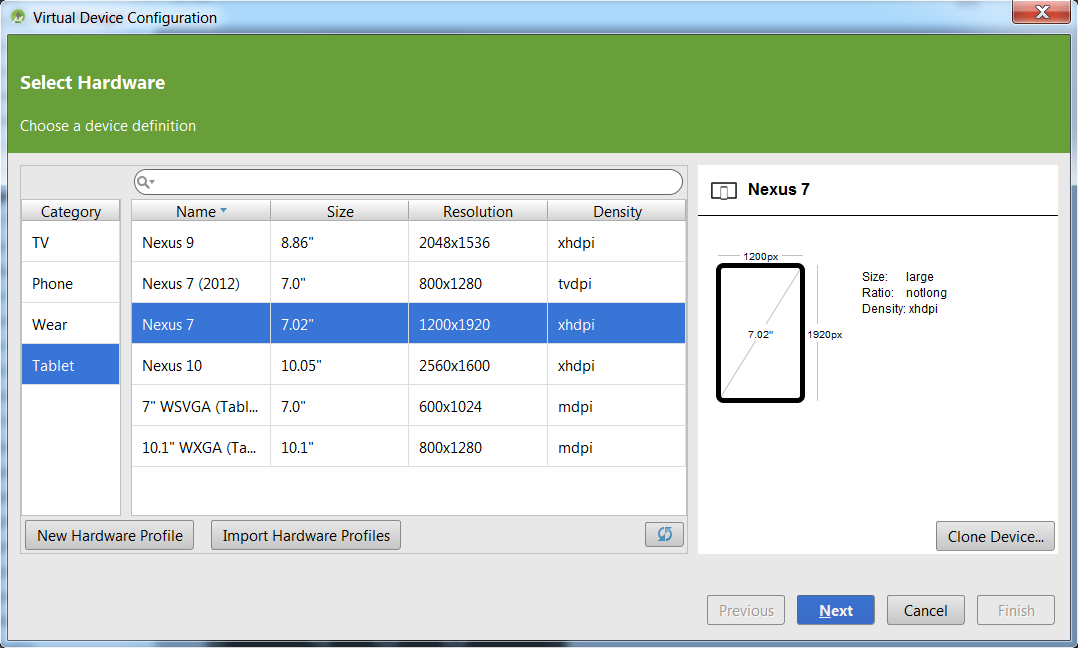
Create Virtual Device - Select
TabletandNexus 7and then clickNext
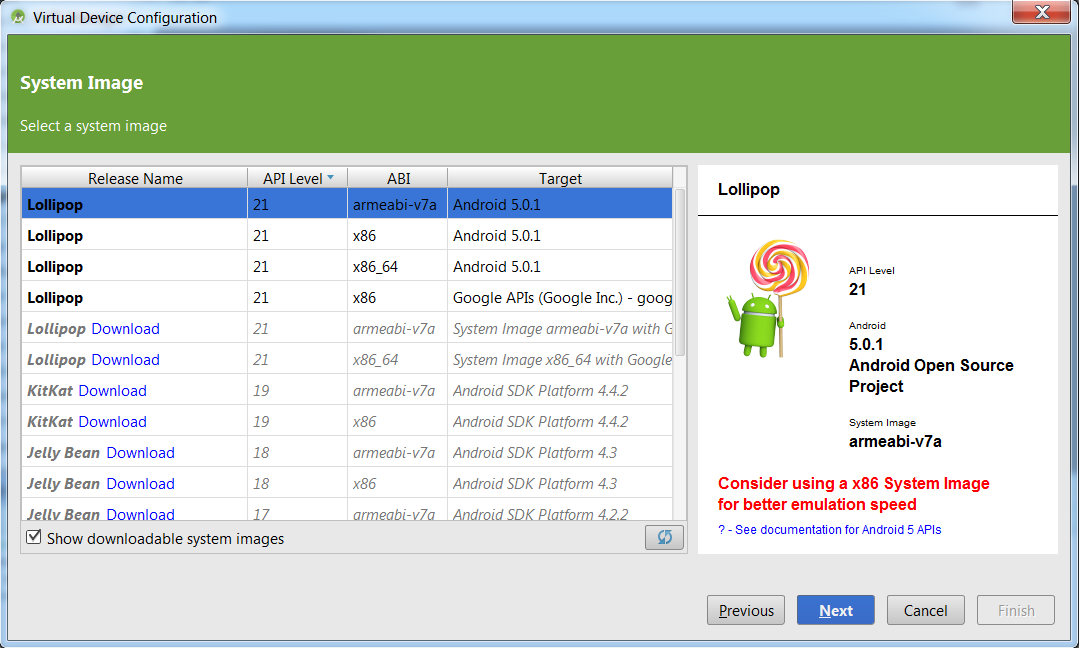
- Select the first option with
armeabi-v7ain the ABI column and then clickNext
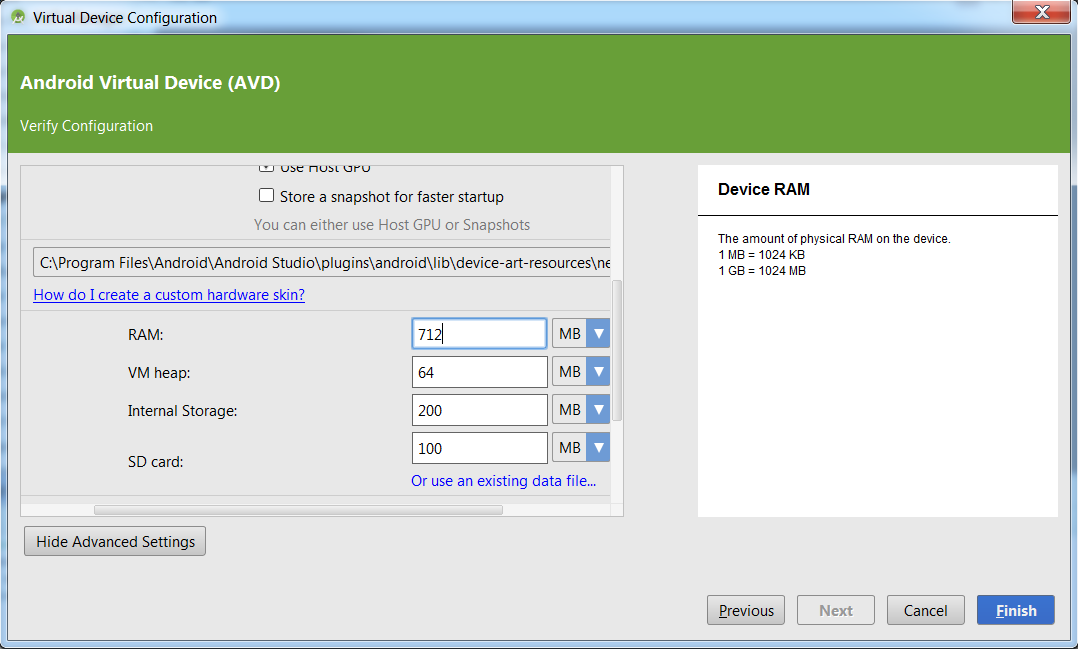
- Click on
Show Advanced Settingsand scroll down to adjust the RAM requirement to 712 MB and then clickFinish
1) If you plan to do extensive Android development and can modify the BIOS on your computer to allow hardware emulation, you should select the
Performance (Intel... option as well.To enable hardware emulation on the HP ZBook:
- Press and hold F10 on a fresh boot to enter the BIOS Setup
- Select
Advancedat the top center of the screen - Select
Device Configurations - Scroll down and ensure that
Virtualization Technology (VTx)is selected - Select
ExitandYesto "Save Changes?"
Last modified: Monday, 29-Jul-2024 06:54:35 EDT