After you have installed AVR Studio, run AVR Studio from the start menu.

- On the intro screen, select Create New Project.

- On the second screen do the following and then select Next.
- Select Atmel AVR Assembler for the Project type.
- Enter
lab0for the Project name. - Select
D:\Atmel\Projects\CE2800for the location.
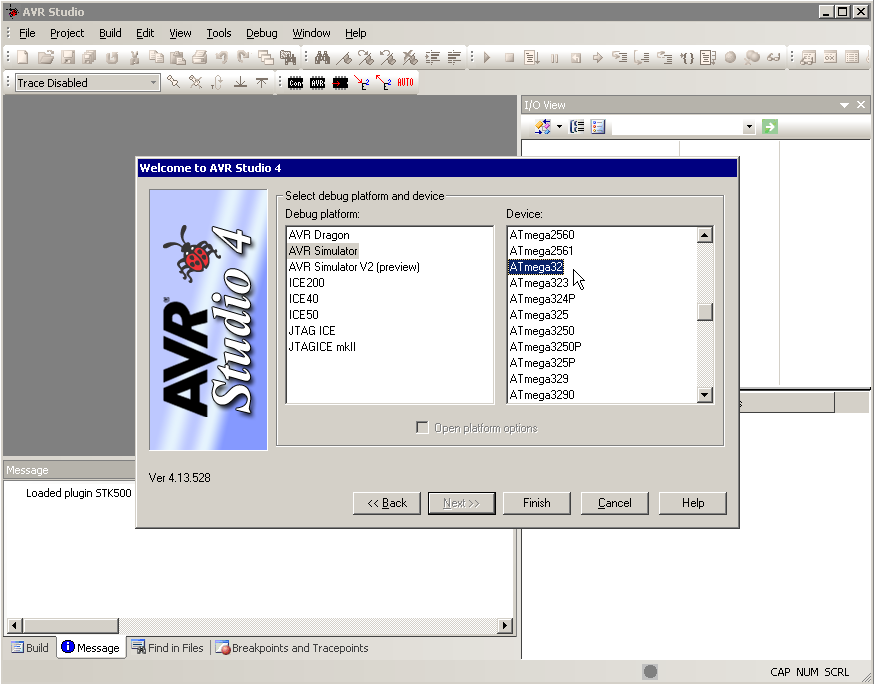
- On the third screen select the following and then select Finish.
- AVR Simulator for Debug Platform.
- ATmega32 for Device.
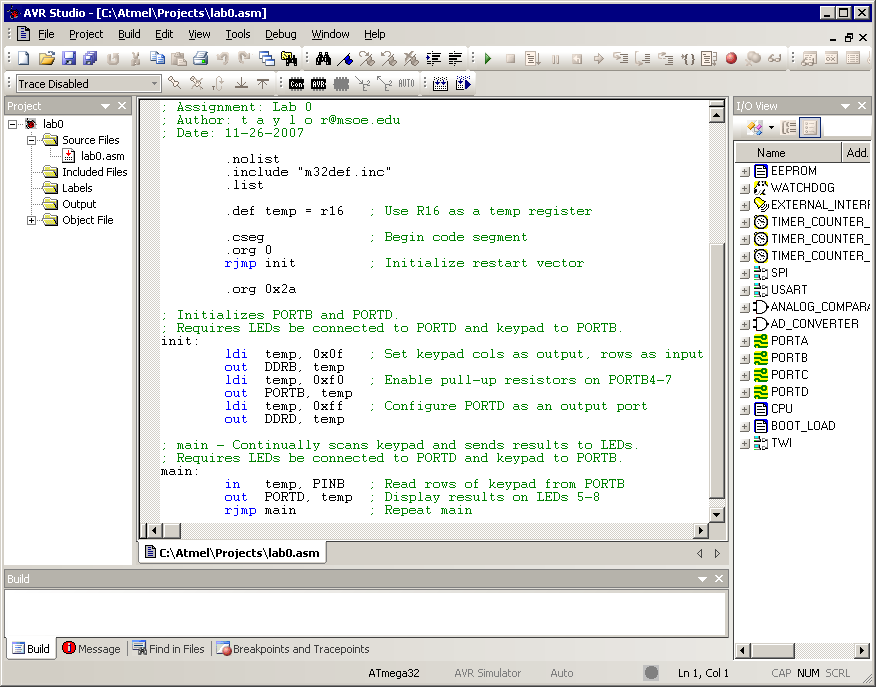
- Enter your assembly program into the text editing window.
- Select Build from the Build menu (or just press F7) to build the project.
This will create a binary file called lab0.hex in the project directory. This file can be downloaded to the ATmega32 microcontroller.